We recommend you use the Site Cache Client to upload large documents to your local workspace. The Site Cache Client chunks large files and communicates with the server directly, which allows for a faster upload. PowerWeb cannot chunk files, and as a result, large uploads lead to performance issues while PowerWeb communicates with IIS.
This functionality was added in the 2022 release of Meridian Enterprise, and in the 2022.3 version of Cloud.
To add documents via the Site Cache Client:
-
Right-click the Accruent Application Integration icon in the system tray.
-
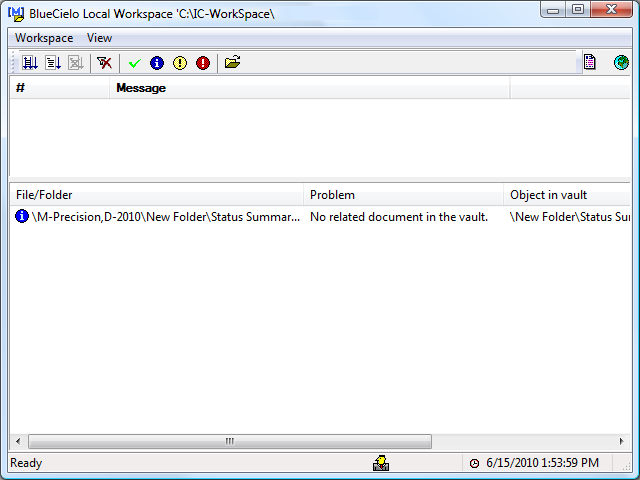
Point to Local Workspace and click View Log.
The Accruent Local Workspace dialog box appears, similar to the following figure.
-
Click the Add Document button
 in the toolbar.
The Add Document / Select Files window opens.
-
Select the vault you want to add the document to.
-
Select the folder you want to add the document to.
-
Choose between two options:
-
Drag and drop the files you want to add into the Add Document / Select Files window.
There is a known issue in the 2022 release that prevents this option from working when using the 32-bit application integration.
-
Click Add and select the files you want to import.
The files you added appear in the Add Document / Select Files window.
-
-
If you want to synchronize your references from the files after the upload is complete, select the check box.
-
Click Import.